Sauna Tent User Guide

-
Ensure your location has proper ventilation, a stable surface for setup, and no fire hazards near the chimney. Make sure you have at least 8' of clearance entirely around the chimney top and the rest of the tent has at least 4' from all structures or flammable objects. Always be aware of fire restrictions in your area before using.
Pull firmly on any of the 4 wall hooks until the first wall pops into place, use one foot to hold down the base of the tent and place the opposite hand on the roof edge to provide resistance when pulling out the first wall. Expect the first few openings to have more resistance. This process is easier with two people.
Repeat with the remaining 3 walls.
From inside the tent, push the roof upward until it pops into place.
Remove window coverings if desired.
Anchor tent to the ground using the threaded tent stakes provided. Do not use in strong wind conditions.
Secure the properly sized rectangular chimney flashing with metal ring to the roof of the tent. Line up the Velcro and be sure it is evenly attached.
Bring the seasoned stove into the tent and place it under the chimney vent.
Assemble the chimney stack by pressure fitting each piece together. Slide the stack through the roof flashing and then bring down and pressure fit into the stove. The chimney stack should stand above the tent roof by 12".
Add the rock basket to the side of the stove - slides into the side metal brackets
Position the sauna benches inside the tent and fill up your bucket with clean water and your favorite essential oil.
Open and always keep the vents open. There is a ground vent and a roof vent. These vents are designed to be open and ensure proper ventilation for a great sauna experience.
-
Light a fire in the stove. Ensure your wood is stacked to allow for plenty of airflow.
Manage your fire. Temperature can be regulated by adding more thinly split wood, using an airflow damper on the door, a pipe damper, or by opening and closing tent windows and doors. Sauna rocks take approximately 30 minutes to come up to temperature and will help evenly regulate heat for longer sauna sessions.
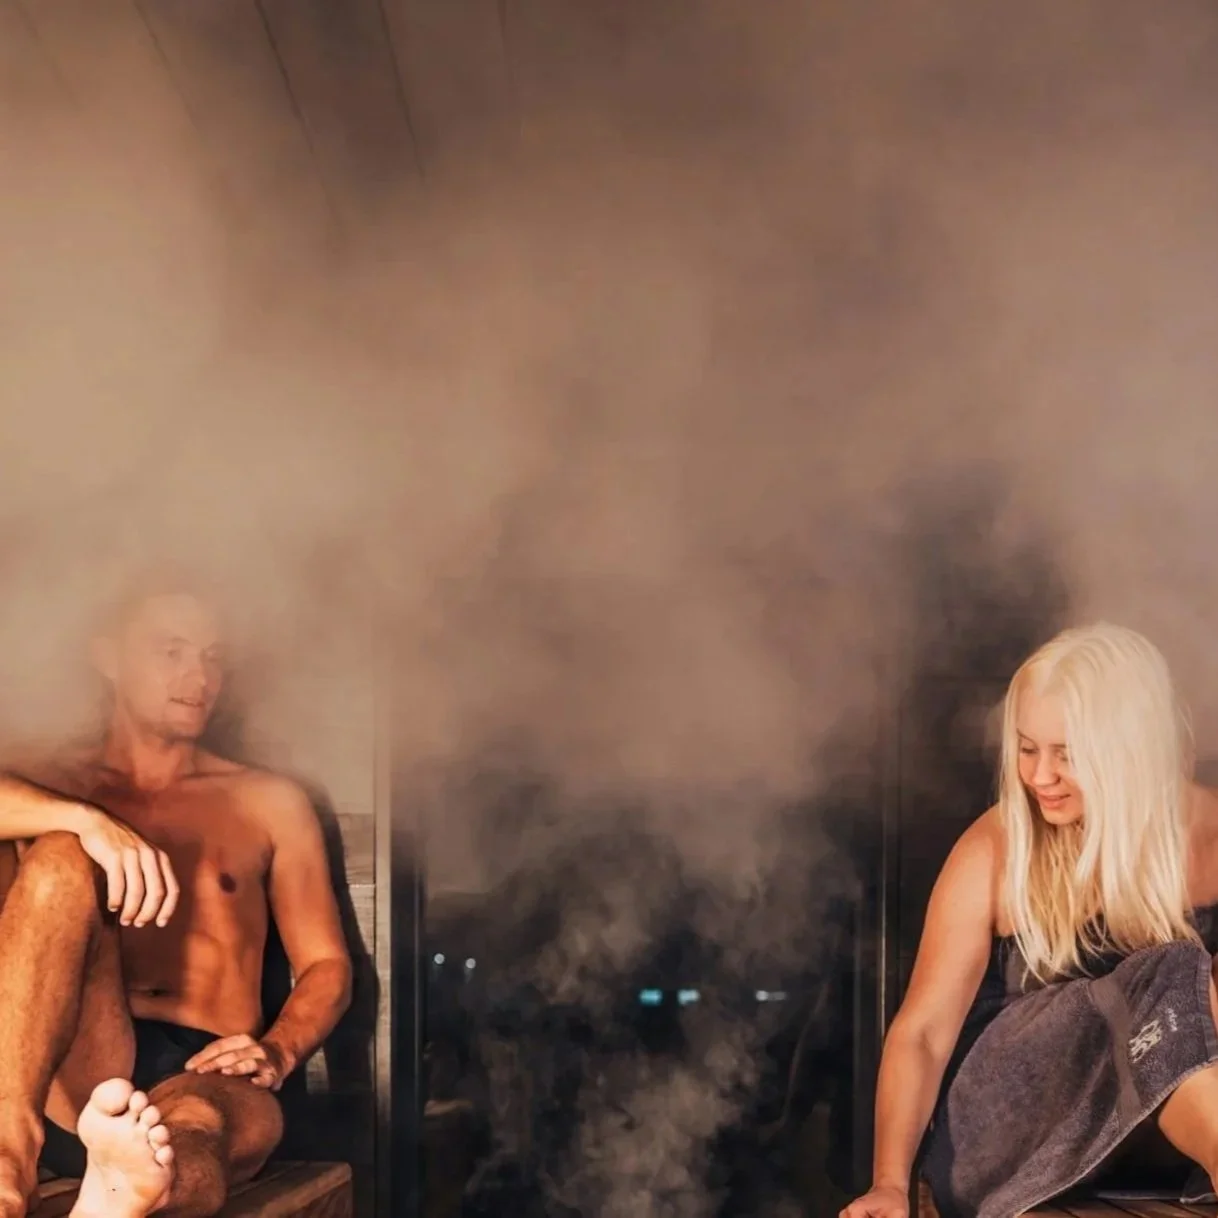
Löyly: Adding water to the hot sauna stones causing steam (löyly) - an essential part of the traditional Finnish sauna. We suggest experimenting with this to find your preferred sauna heat. Only use clean, fresh water. Add essential oils to enhance your sauna experience. Adding steam will make your sauna feel much hotter and help even out the feeling of normal temperature fluctuations as your fuel burns.
Quick in and out! When going in or out of the sauna be sure to do so quickly to not let too much heat escape. Keep the doors closed.
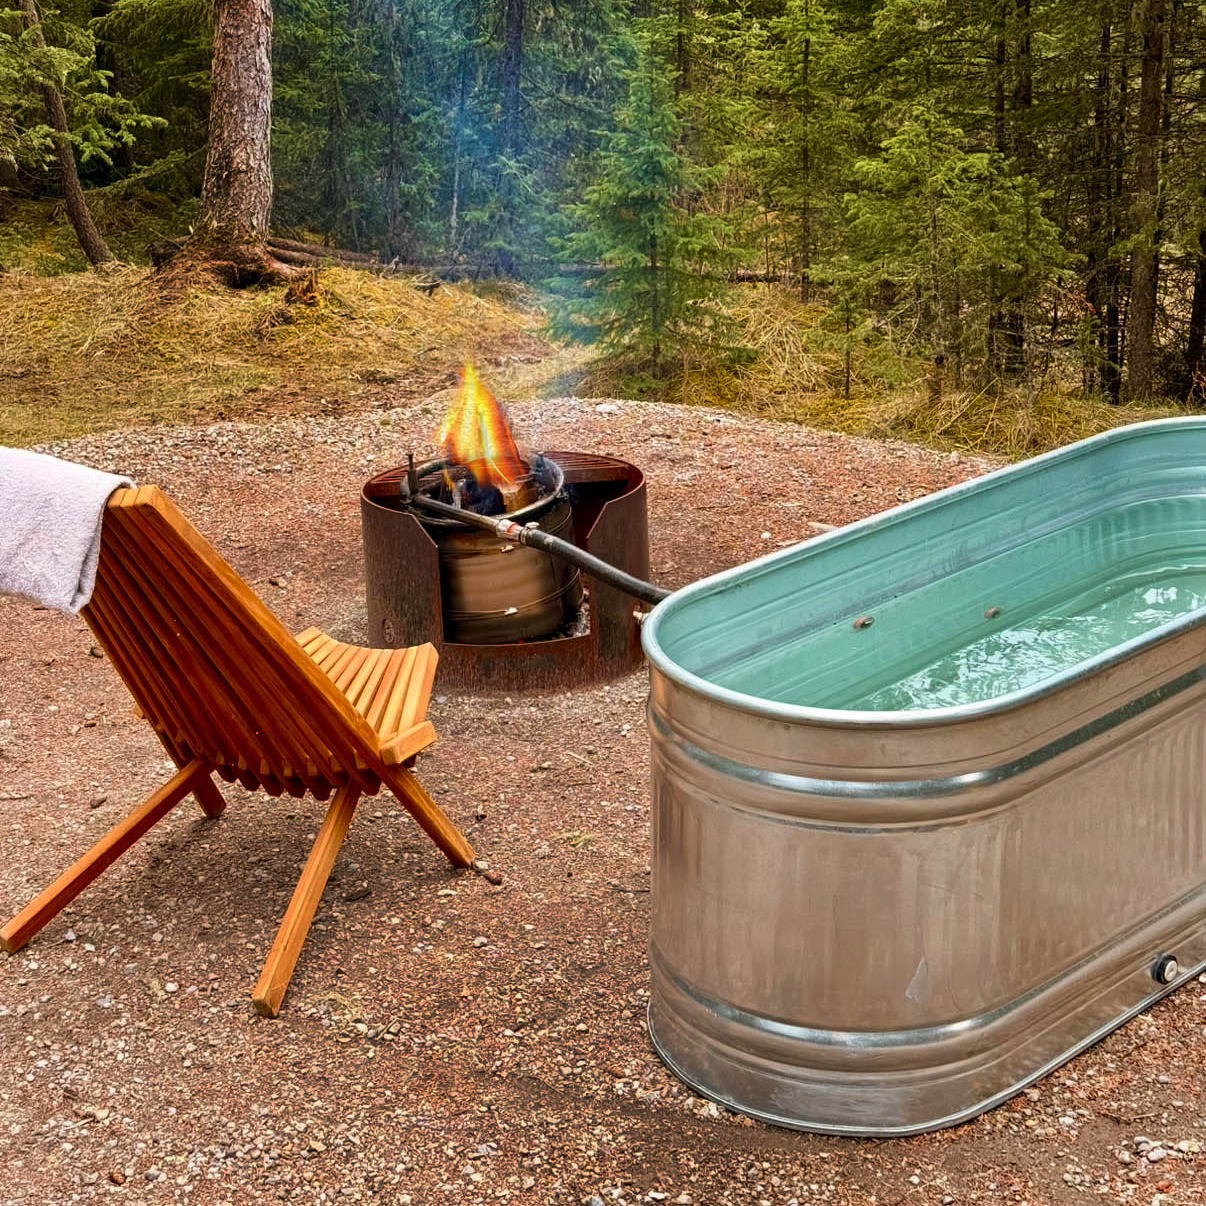
Time to Sauna! We like to do 15-minute sessions in the sauna with a refreshing cold plunge or cool down after. Three rounds seems to be the magic number.
-
If you picked up the sauna yourself - follow these next steps. Otherwise if it was delivered, we will take it down when we pick it up at the end of your rental. Just be sure the fire has been put out a few hours prior to pick up.
When you are ready to break down the sauna tent be sure that everything is removed from the inside, the doors, and vents are closed, and you have your straps and bag close by.
DO NOT FORCE the tent closed. If the tent is not breaking down easily then open it back up and try again. Forcing the tent closed can result in crossing pulls which can force them to break.
Breaking the tent down is easiest with 2 people.
Start by pushing in the sides one by one keeping the tent upright long enough to collapse the top section last.
Push the tent away from you onto the ground.
Pull the bottom of the side you are closest to over the top to fully collapse the tent into itself.
Use the provided tent straps to secure it before placing it into the carrying bag, and closing it up.
Tag us on Instagram!
Sharing or tagging @nordeggrentals helps our small business thrive! Thank you